Raycasting optimization
Yesterday, while playing around with the beam cannon, I found some bugs on the collision detection, so today I dived right into that…
The current method for raycasting on the voxel map is to do sampling: start at the beginning of the ray and walk through it, checking if it is a solid cell. Of course, this has precision issues, especially in glancing angles or when the step misses a collision by passing just by it…
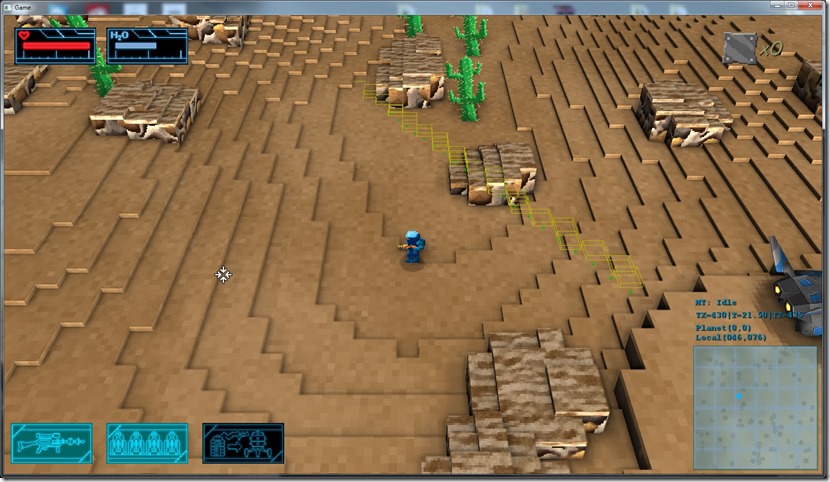
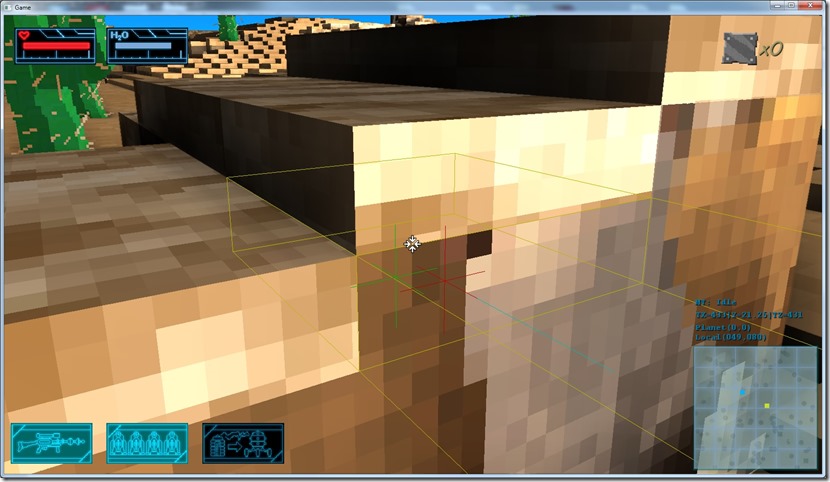
Anyway, I started my tests by finding a fail case and displaying some debug information:
The green points are the sampled positions, and the yellow boxes are the corresponding voxel cells… Obviously in the above picture, they don’t match properly, and that’s why I’m missing the collision with that rock outcrop…
Going into the code, I found the bug (the way I was rounding up the Y coordinate) and fixed it, and it worked great!
Second problem, the actual point of collision wasn’t found properly… I was returning the sampling point where the collision existed, not where the actual collision happened, which could be a significant offset and it was very noticeable when I wanted for example to spawn sparks on the collision… Sometimes they would spawn inside the object, instead of on the surface.
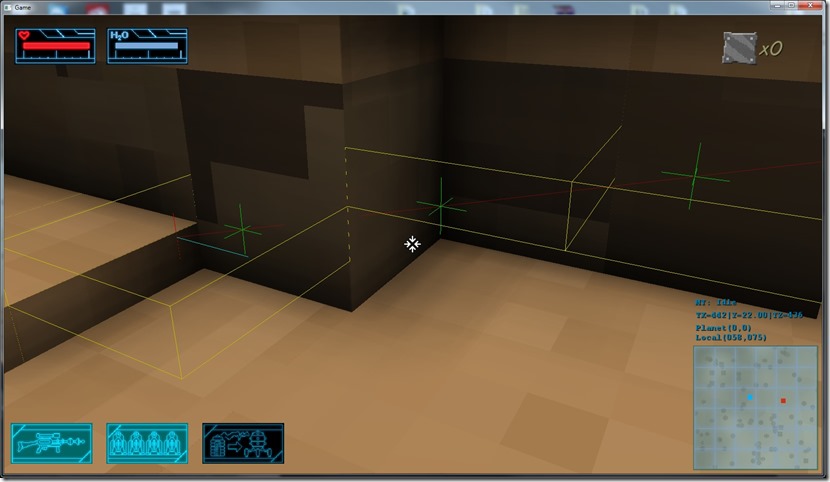
So, I added an extra test… After I figure out what was the “collision voxel”, I created a AABB with it and did the mathematical raycast with it, obtaining all the data I needed…
The red point is the actual collision point, and the blue line is the normal at the point.
Why I wasn’t doing this test for all the sample points? Because testing all the voxels with the AABB would be slow (a lot of math for every step).
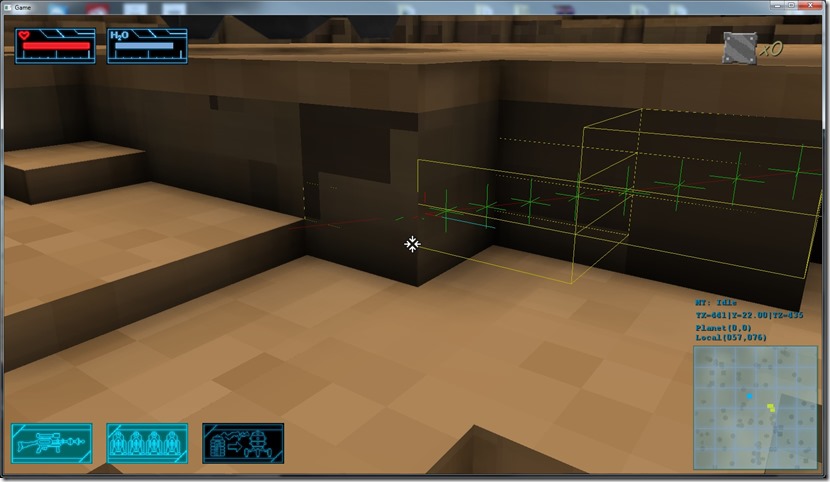
Still, there was a lot of cases where the system wouldn’t catch the collision:
Both green points are “outside” the voxel space, but it passes within the voxel space in the middle… So I decided to increase the precision by reducing the step size:
It works fine, but then I decided to profile this… With the initial precision (which missed the collision):
Time for 10000 raycasts=243 ms (0.024359 ms per raycast)
For the enhanced precision:
Time for 10000 raycasts=1248 ms (0.124864 ms per raycast)
So, five times the time… And I have a lot of raycasting in the system, especially linked to the AI…
The benchmark was done by taking random rays, which means that we have worst and best case scenarios all mixed up… And with the enhanced precision, the longer a ray has to go, the more performance hit we get…
So I dove into the system again and tried to figure out another way to achieve more precision without increasing the sampling, and I found one: how about when I detect a collision, I try the adjacent cells for a closer collision?
So I cranked the system back to normal precision and added code to test a 3x3x3 area around the collision, test it with the AABB/ray code and get the closest one… This also worked, with the bonus that it was twice as fast.
Time for 10000 raycasts=520 ms (0.052044 ms per raycast)
It still missed a lot of hits on glancing angles, but only a bit more than the enhanced precision (and this one caught other cases the enhanced precision didn’t)…
Still, I was a bit worried about the performance… 0.05 ms per ray is very slow…
Then I noticed I still had the debug code (that drew the boxes, etc) in it, and with 10000 raycasts, it really allocated/freed a lot of memory, which could explain the speed… So I disabled the debug code and measured again:
Time for 10000 raycasts=39 ms (0.003957 ms per raycast)
Ah, much better… But then I remembered this code would affect the enhanced precision much more (more samples, means more boxes, means more alloc/frees), so I had to run the benchmarking again to be able to have an true measurement of optimization/strategy:
So, for the single precision (which misses a lot of collisions):
Time for 10000 raycasts=13 ms (0.001380 ms per raycast)
And for the enhanced precision:
Time for 10000 raycasts=48 ms (0.004811 ms per raycast)
So, although the adjacent test is faster (because it’s a linear term… it always takes 0.0005 ms to run, regardless of the length of the ray, since it only does the test when it has a viable candidate), it’s not that much faster… I still miss some hits with any of the solutions, so I decided to merge both, and do the enhanced precision with the adjacent testing at the end:
Time for 10000 raycasts=53 ms (0.005378 ms per raycast)
This version caught all cases tested, so it was “perfect”, even if it is a big hit in performance (compared to the starting 13 ms)… And again, this solution can take longer with the length of the ray, which is not usually desirable… I‘d rather have algorithms that run in more or less constant time than algorithms that can sometimes perform better and sometimes worse… Stability is more important than speed…
Finally, I decided to try one last thing… Instead of using a 3x3x3 adjacency test, how about I keep the standard precision, but increase the test to a 5x5x5 area?
My results were nice… It caught all collisions in the test, and in terms of speed:
Time for 10000 raycasts=33 ms (0.003373 ms per raycast)
Faster than the enhanced with the box test, and with the added bonus that it has more or less constant run time, and not much slower than the 3x3x3 version!
So, to sum up, I decided to keep this last version, which does a ray march along the ray on the voxel space, and when it finds a potential hit, it tests a 5x5x5 area around it to see if there’s a closer/more precise collision…
This seems to work great, has awesome performance, and can deliver the intersection point and normal as well!
This will allow me to fine tune the firing/aiming system further, on which the game kind of hinges! ![]()
Now listening to “End of an Empire” by “Celldweller”


Comment
You must be logged in to post a comment.