Today I started adding the rendering effects to the editor, since I’ll need them to build some stuff for the teaser trailer I’m working on…
First I had to get it working again properly (a lot of changes since I last used it), but that didn’t take long… Then, time to add the ambient occlusion to it… This was the state of it:
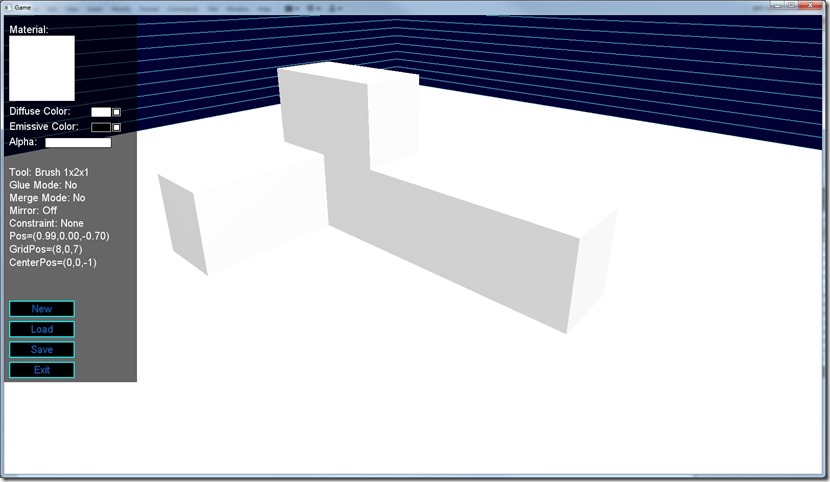
Needed to refactor some code (since the ambient occlusion code assumes a gather phase before drawing), cleaning up some function names as well… Then I just added the AO code and voilá:
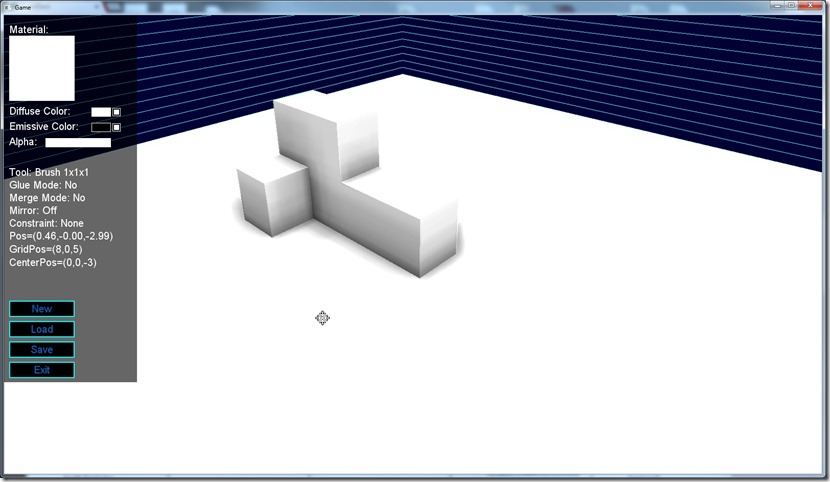
Much better!
I lost some alpha effects on the gizmo, but that’s next on my list…
Now listening to “In Existence” by “Beautiful World”
Link of the Day: I wish I lived near enough to be able to go here… Amazing concept, looks very cool!
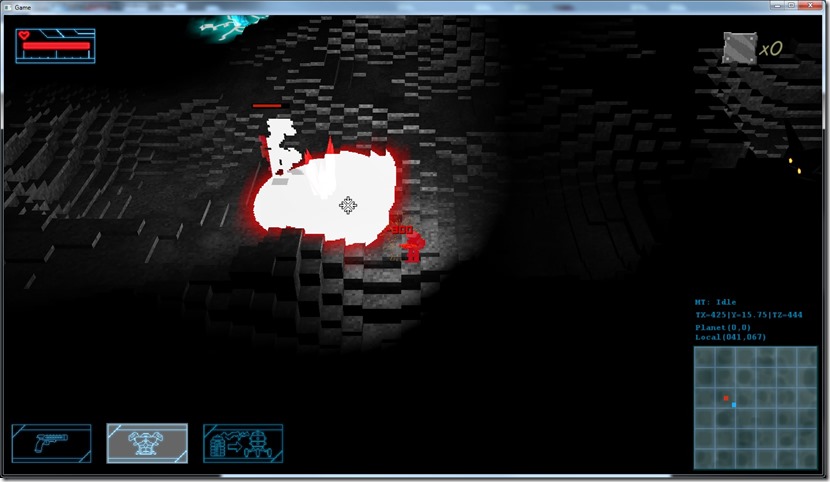
As I mentioned yesterday, I got a small problem with the lighting of the cracks… What on paper seemed like a good idea, a decal that would illuminate the surrounding area, in practice it looks terrible when an enemy passes through it:
The solution I found to this problem was to do some vertical attenuation… So instead of mapping the decal in the XZ planet as usual, I just consider the height from the center of the decal and attenuate the decal lighting, to look like it attenuates with the distance:
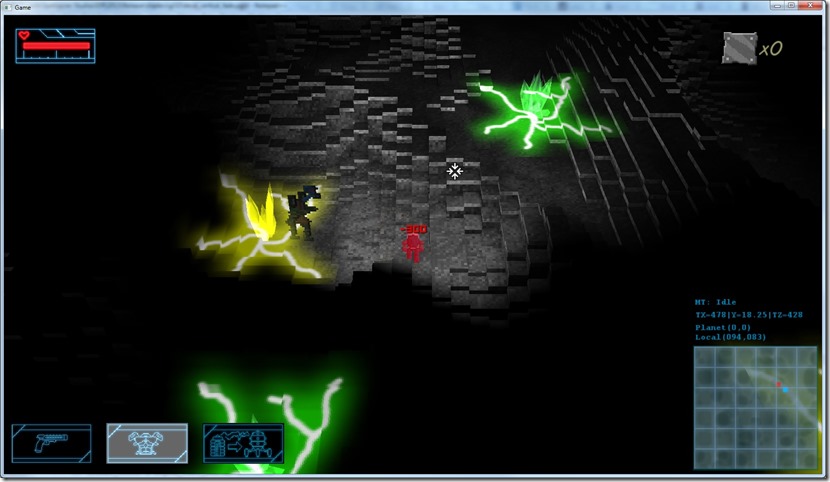
It looks fairly good, I think, without losing the coolness of the decals…
Now listening to “Chaos AD” by “Sepultura”
Today I implemented the split mechanic…
I wanted something to beef up some boss fights, and I decided to implement a split mechanic: when some robots explode, they spawn two (or more) versions of himself, at half strength… Visually, it’s not done (it’s too sudden, needs some transition, like an explosion or teleport effect), but it works rather well as a mechanic:
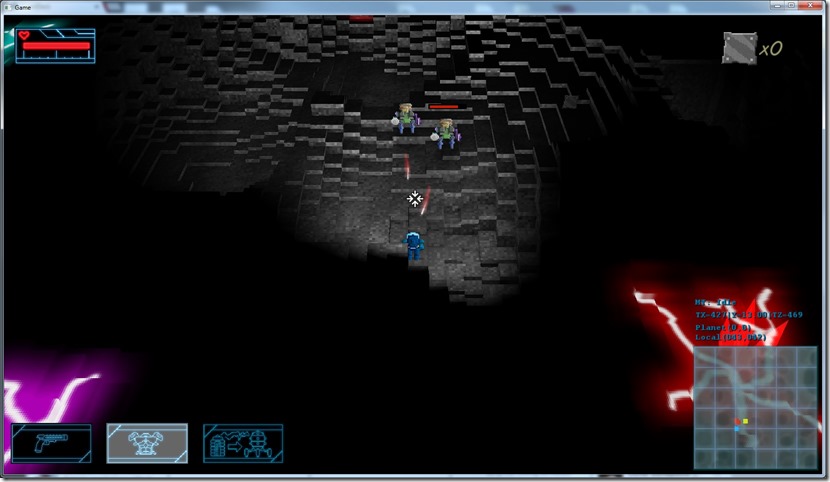
While on the asteroid planet, I found a big problem that kind of spoils my whole “cracked ground effect”:
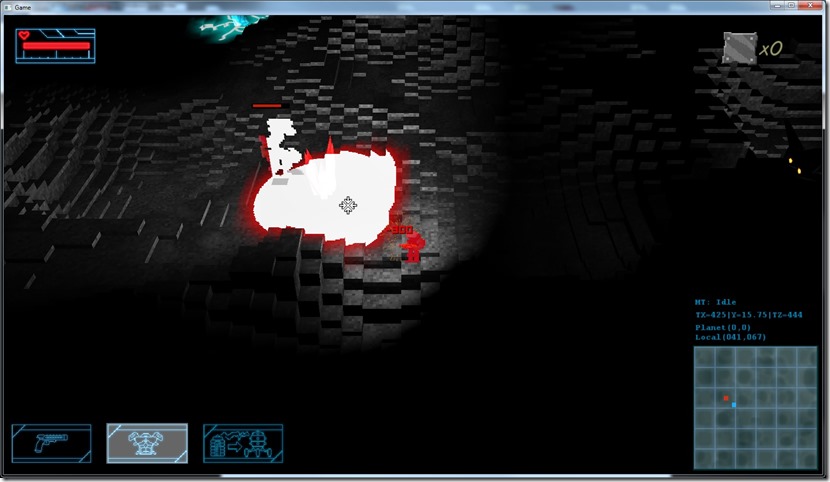
I forgot to test it… Basically the sphere decal I make affects whatever is on that area (in this case, the robot)… I was expecting it to look like lighting in that area, but since I have no light modulation on that, it becomes that what you see, which super-sucks… The screenshot is already of an experience in using a sphere for the lighting decal instead of the crack (which looked even worse)… Not sure if I can figure a way to do this better, to be honest… The actual effect I want would be something similar to point lighting in a deferred renderer, but this is not a deferred renderer, so I’m not sure on what I can do to fix that… As is, the decal just colors everything on top of it with the same color as it has, with only slight modulation if the light is shining, since the decal is drawn after the lighting of solid objects.
So, to make that look like lighting, I’d have to define a base plane, and fade out the illumination vertically, for example, but not sure if that will work at all…
Back to the drawing board, which is too bad, I liked the crack-effect… 
Now listening to “Aeronautics” by “Masterplan”
That’s right, you heard it here first!
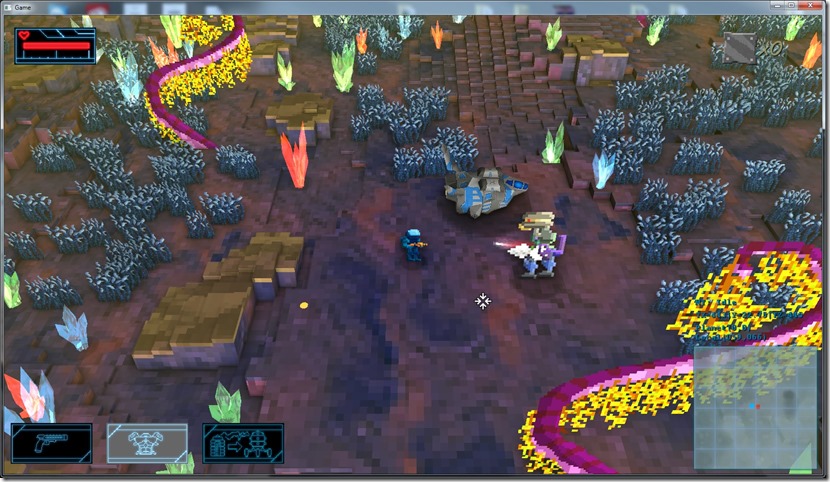
I’ve finished the new shooting AI system, and the rebalancing of all weapons… There still might be some work there, with feedback from beta testers, but the basic work is done there!
Now listening to “The Theory of Everything” by “Ayreon”
Today I didn’t have much time, so I spend just an hour or so balancing weapons (mainly firing rates, etc).
Some of the difficulty is understanding why isn’t a weapon firing, when the enemy has two weapons…
For example, the enemy I’m testing now has a machine gun and thermal grenades, so he takes the largest of the ranges to know where he should stand, but the range of the grenade is much larger than the machine gun, which means that if we place ourselves correctly, he will not shoot the machine gun… This is something I have to look at…
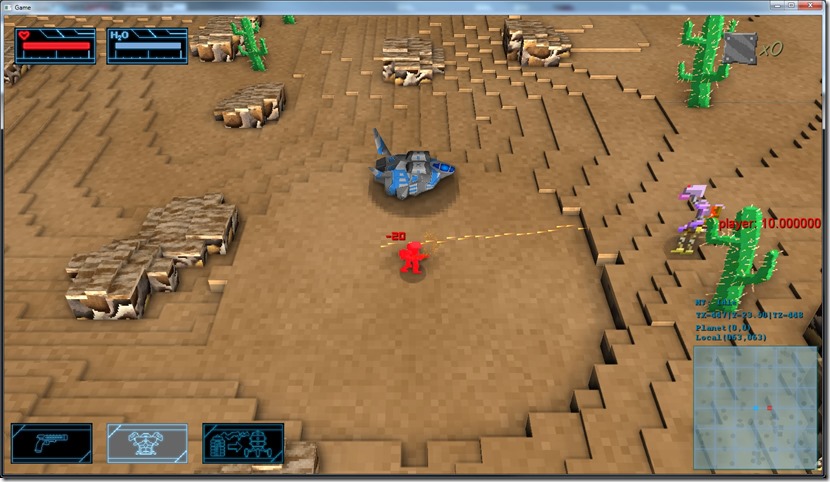
I also have to consider the overheating of the machine gun, etc…
This is a bit of busy work, and I’d rather make new code and functionality, but this is extremely important for the game, so I need to be very careful with the parameters, so I don’t spoil the game further ahead or before this moment…
Now listening to “Halo OST”
Link of the Day: These are some awesome timelapses of someone building areas for games, really neat stuff:
As the title indicates, today I was working on the grenades… First, I added a shockwave to the flash grenade (or else the explosion looked a bit silly), then I fixed a problem with the grenade path (wasn’t taking in account the difference in height between who threw it and the target position, so it usually flew over the target).
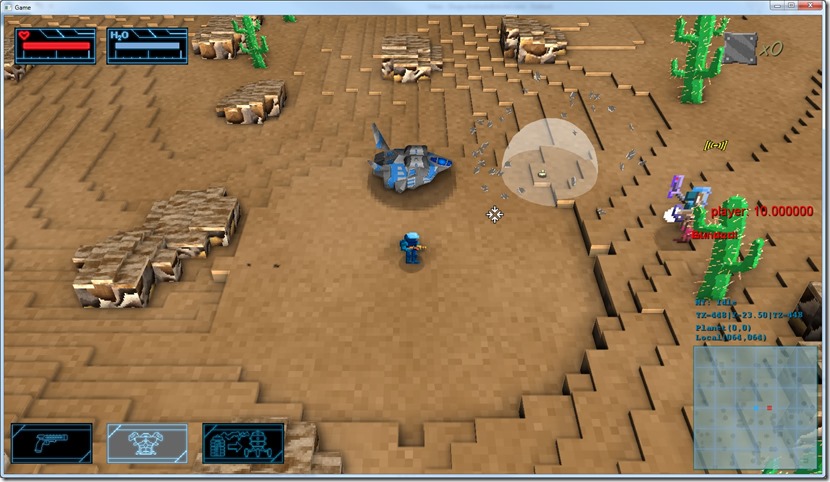
Finally, changed the grenade gameplay slightly… Now, when the grenade bounces, if there’s an enemy nearby, it will detonate immediately, instead of using the timer… It’s not as “accurate”, but it’s more fun and usually what is intended (on both sides).
On the day this blog post comes live, I’m coming back from Edinburgh, in which I probably had a lot of fun, so work on the game will resume… 
Now listening to “Inception OST” by “Hans Zimmer”
Link of the Day: This looks just like my cup of tea!
After all the work yesterday on the raycasting system, today I fine-tuned the shooting some more, and it feels way better!
After this, I balanced the beam cannon and found some errors on the damage levels, so I had to retune all the rest of the weapons, while playing around with some plasma burns:
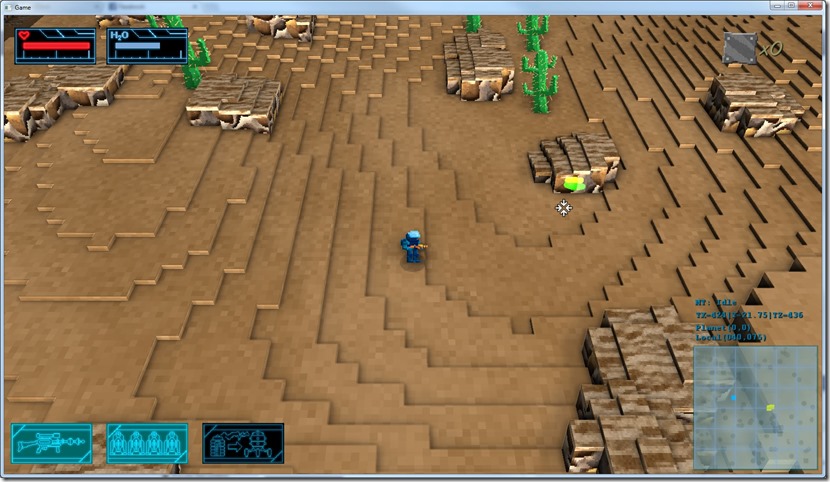
Because they’re cool… 
Now I’m working with the grenades, trying to figure out why they work fine when thrown by the player, but terribly when thrown by the AI… When the player clicks a position with a grenade, the first bounce takes place there, as intended, but when the AI chooses the same place, it goes a couple of meters above the position… Trying to figure out why, since it’s the same code that drives both shooting… Also need to improve the visuals on the flashbang grenade, it’s missing something from the effect when it blows up (a shockwave, maybe?).
Now listening to “Damnation” by “Opeth”
Yesterday, while playing around with the beam cannon, I found some bugs on the collision detection, so today I dived right into that…
The current method for raycasting on the voxel map is to do sampling: start at the beginning of the ray and walk through it, checking if it is a solid cell. Of course, this has precision issues, especially in glancing angles or when the step misses a collision by passing just by it…
Anyway, I started my tests by finding a fail case and displaying some debug information:
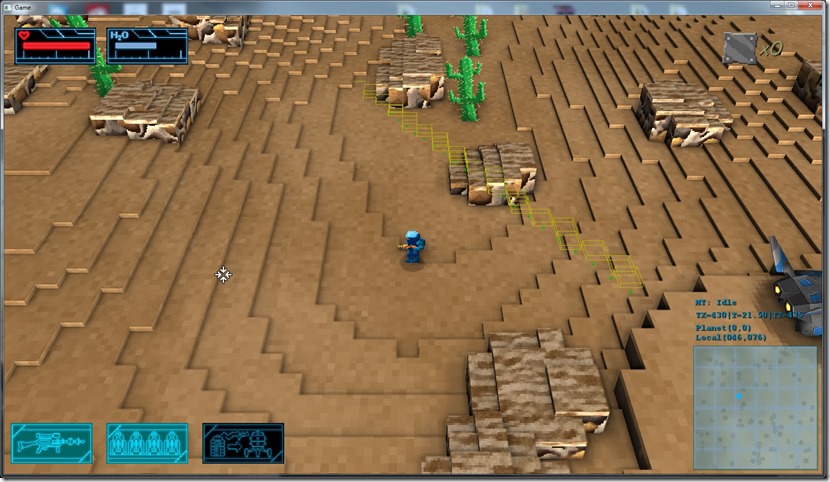
The green points are the sampled positions, and the yellow boxes are the corresponding voxel cells… Obviously in the above picture, they don’t match properly, and that’s why I’m missing the collision with that rock outcrop…
Going into the code, I found the bug (the way I was rounding up the Y coordinate) and fixed it, and it worked great!
Second problem, the actual point of collision wasn’t found properly… I was returning the sampling point where the collision existed, not where the actual collision happened, which could be a significant offset and it was very noticeable when I wanted for example to spawn sparks on the collision… Sometimes they would spawn inside the object, instead of on the surface.
So, I added an extra test… After I figure out what was the “collision voxel”, I created a AABB with it and did the mathematical raycast with it, obtaining all the data I needed…
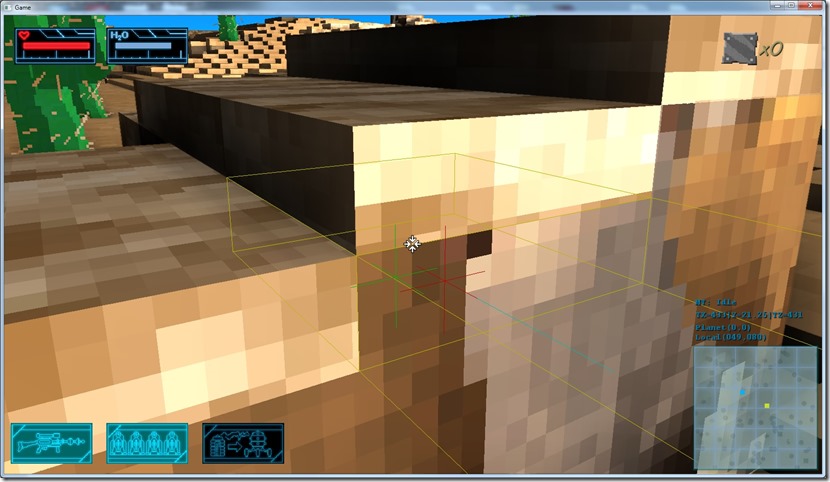
The red point is the actual collision point, and the blue line is the normal at the point.
Why I wasn’t doing this test for all the sample points? Because testing all the voxels with the AABB would be slow (a lot of math for every step).
Still, there was a lot of cases where the system wouldn’t catch the collision:
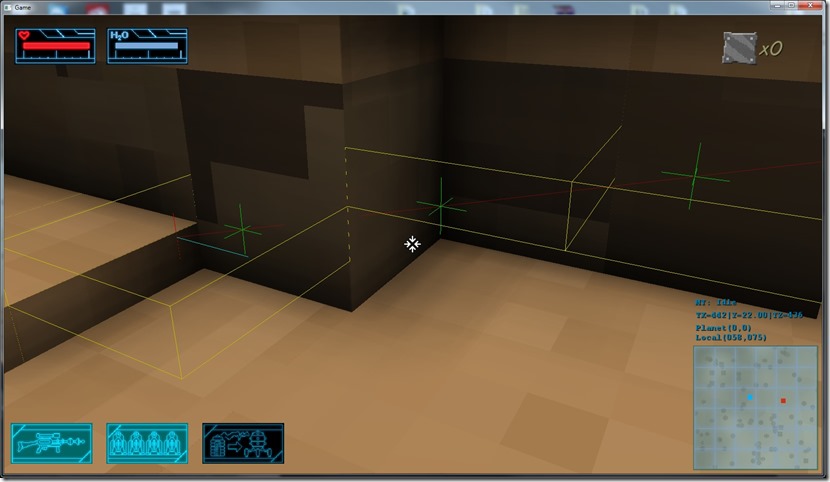
Both green points are “outside” the voxel space, but it passes within the voxel space in the middle… So I decided to increase the precision by reducing the step size:
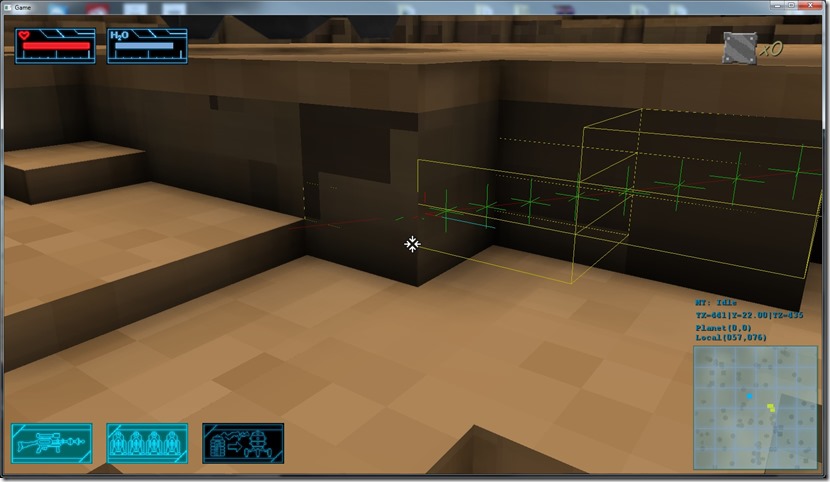
It works fine, but then I decided to profile this… With the initial precision (which missed the collision):
Time for 10000 raycasts=243 ms (0.024359 ms per raycast)
For the enhanced precision:
Time for 10000 raycasts=1248 ms (0.124864 ms per raycast)
So, five times the time… And I have a lot of raycasting in the system, especially linked to the AI…
The benchmark was done by taking random rays, which means that we have worst and best case scenarios all mixed up… And with the enhanced precision, the longer a ray has to go, the more performance hit we get…
So I dove into the system again and tried to figure out another way to achieve more precision without increasing the sampling, and I found one: how about when I detect a collision, I try the adjacent cells for a closer collision?
So I cranked the system back to normal precision and added code to test a 3x3x3 area around the collision, test it with the AABB/ray code and get the closest one… This also worked, with the bonus that it was twice as fast.
Time for 10000 raycasts=520 ms (0.052044 ms per raycast)
It still missed a lot of hits on glancing angles, but only a bit more than the enhanced precision (and this one caught other cases the enhanced precision didn’t)…
Still, I was a bit worried about the performance… 0.05 ms per ray is very slow…
Then I noticed I still had the debug code (that drew the boxes, etc) in it, and with 10000 raycasts, it really allocated/freed a lot of memory, which could explain the speed… So I disabled the debug code and measured again:
Time for 10000 raycasts=39 ms (0.003957 ms per raycast)
Ah, much better… But then I remembered this code would affect the enhanced precision much more (more samples, means more boxes, means more alloc/frees), so I had to run the benchmarking again to be able to have an true measurement of optimization/strategy:
So, for the single precision (which misses a lot of collisions):
Time for 10000 raycasts=13 ms (0.001380 ms per raycast)
And for the enhanced precision:
Time for 10000 raycasts=48 ms (0.004811 ms per raycast)
So, although the adjacent test is faster (because it’s a linear term… it always takes 0.0005 ms to run, regardless of the length of the ray, since it only does the test when it has a viable candidate), it’s not that much faster… I still miss some hits with any of the solutions, so I decided to merge both, and do the enhanced precision with the adjacent testing at the end:
Time for 10000 raycasts=53 ms (0.005378 ms per raycast)
This version caught all cases tested, so it was “perfect”, even if it is a big hit in performance (compared to the starting 13 ms)… And again, this solution can take longer with the length of the ray, which is not usually desirable… I‘d rather have algorithms that run in more or less constant time than algorithms that can sometimes perform better and sometimes worse… Stability is more important than speed…
Finally, I decided to try one last thing… Instead of using a 3x3x3 adjacency test, how about I keep the standard precision, but increase the test to a 5x5x5 area?
My results were nice… It caught all collisions in the test, and in terms of speed:
Time for 10000 raycasts=33 ms (0.003373 ms per raycast)
Faster than the enhanced with the box test, and with the added bonus that it has more or less constant run time, and not much slower than the 3x3x3 version!
So, to sum up, I decided to keep this last version, which does a ray march along the ray on the voxel space, and when it finds a potential hit, it tests a 5x5x5 area around it to see if there’s a closer/more precise collision…
This seems to work great, has awesome performance, and can deliver the intersection point and normal as well!
This will allow me to fine tune the firing/aiming system further, on which the game kind of hinges! 
Now listening to “End of an Empire” by “Celldweller”
While playing around with the beam cannon, I found some visual glitches with the line drawing code, which ended up not being solvable by simple methods (they were basically a consequence of trying to use a line to draw what’s more accurately a cylinder).
So, after trying to fix this still using the line code, I decided to just add a lot of quads instead, all 45 degrees offset from each other to make a volume of sorts (using a lot of alpha and some tweaks on the texture).
With that in place, I still thought the beam still looked very static, and thought that it would be great to add some “pulsing” to it, so I ended up adding a system to be able to add custom shaders to blits, and making a “beam cannon” shader that alters the texture coordinates with time, which makes for a pulsing effect:
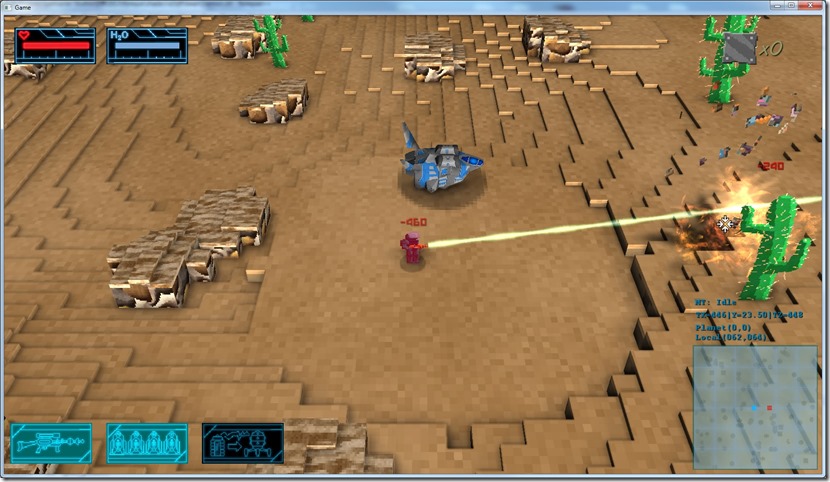
It looks great in movement:
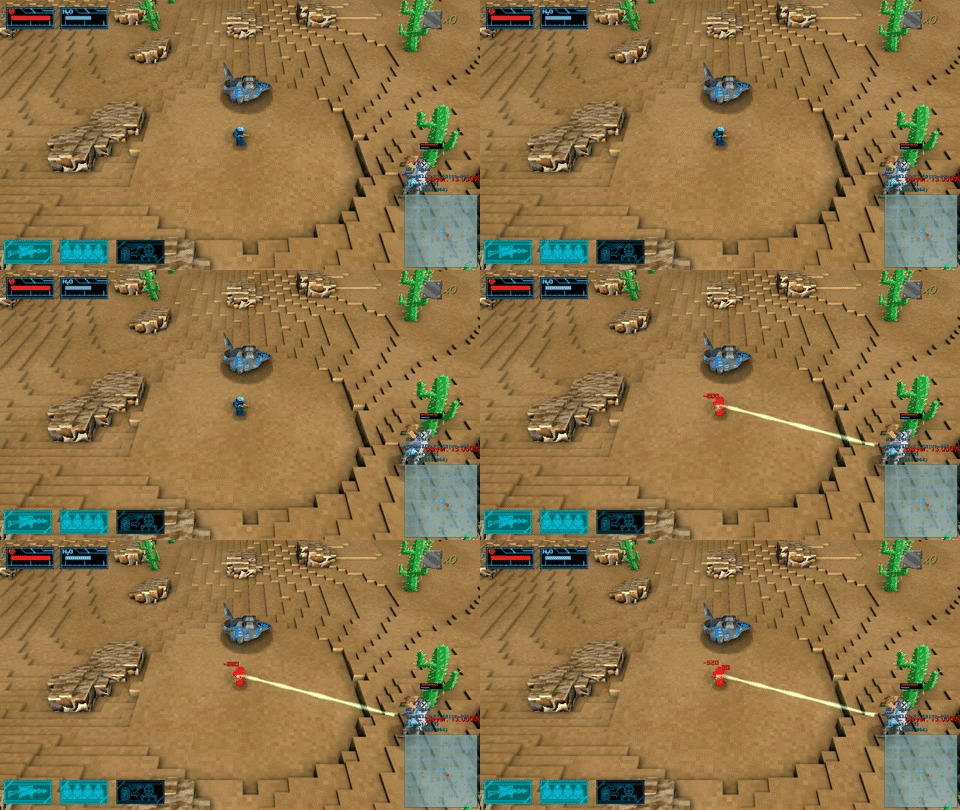
Although GIFs don’t quite cut it… 
I’ve also found some raycasting problems which need urgent solving, so I’m now working on those… I’ll probably need to overhaul all the raycasting code, since it’s very messy at the moment because of the optimizations…
Now listening to “The Trooper EP” by “Sentenced”
Link of the Day: This is a super-amazing feat… This guy played the whole of Metallica’s “Enter Sandman” backwards (with guitar, bass, drums and even vocals) and then reversed the video… It’s incredible:
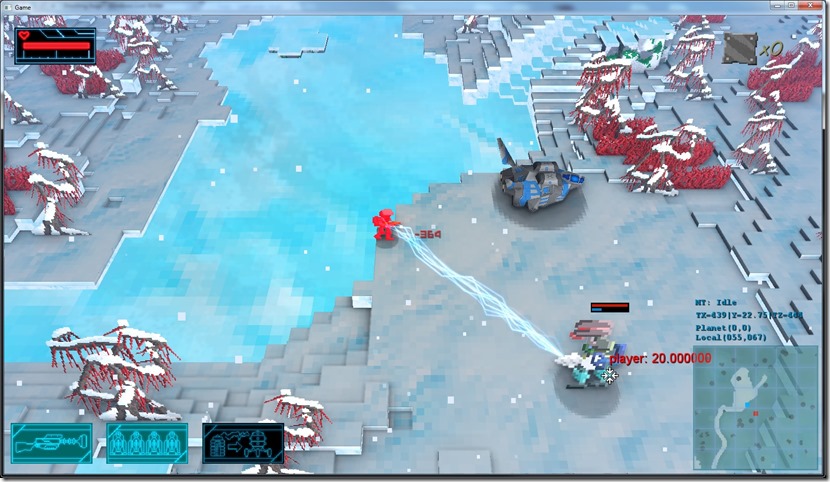
For “Gateway”, shooting is the main action, which means it has to be perfect…
“Perfect” can mean a lot of stuff for different people, but for me it means that the player hits what he aims at… With a 3d view and a 2d input device (the mouse), this can be really challenging!
Case in point, aiming the electro-cannon can be a bit of a challenge… When the player clicks on an enemy, he is expecting to hit that enemy, but when he clicks a bit to the side of him, he expects to hit that point. But if he does that, it will feel like the weapon is shooting almost arbitrarily! This is not a matter of maths, it’s just how it feels…
Currently, what the game does is see if the player is clicking on an enemy and aiming at the center of the enemy in that case, otherwise it does world ray-casting and aims to a point one meter above that, unless it’s a wall, in that case it aims straight for it… All of this surrounded with glorious imprecisions and the fact that the enemies aren’t really 3d… For example, aiming at the enemies’ shadows counts as a terrain hit, but usually that’s not how the player feels it, it feels like the game is misbehaving, so I have to use the shadow as part of the object as well… It’s weird, but it feels better…
So I’m playing around with this, trying to see what combination gives the exact feeling I want… With projectile weapons, it’s easier to give this feeling, but beam weapons are much harder…
Still, I think I got some balance between all the parameters, need to test it further…
Now listening to “The Crucible of Men” by “Iced Earth”
Link of the Day: This is fun, I’d totally watch it!


