Alpha-Blending
This weekend I’ve made a break from the new effect system and tackled a big task task that was needed to really progress in the effect system (specially particle systems): the alpha-blending engine.
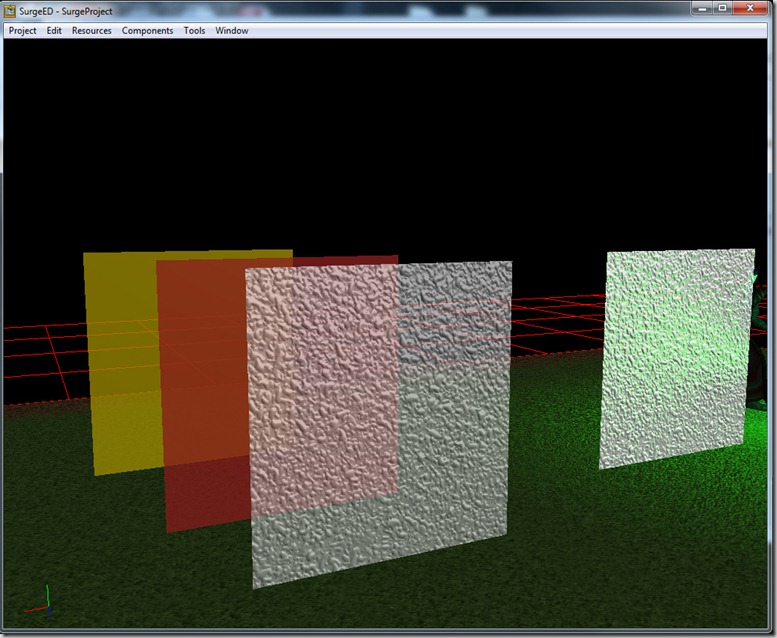
Alpha-blending is the operation we use to do transparency in realtime 3d rendering systems:
Those 3 planes are transparent to different degrees, so it enables you to see through them. This is done through an alpha value, which describes transparency (0 is fully transparent (invisible), 1 is fully opaque). This has to be done through a different path in the rendering pipeline, because it has loads of small different details.
First of all, we usually want to render objects front to back, so that the objects that are closer cover the objects that are further away… this minimizes the load on the pixel shader, which translates to less GPU (Graphic Processor Unit) work, which is a good thing… But when we do alpha-blended objects, we want to go back to front, since the objects in the back will influence the objects in front, and if we do it the other way around, the objects won’t appear (because the video card will cull them since they are technically further away).
Another reason why we don’t want to use the normal rendering engine is the fact that deferred renderers (the type of renderer we’re using for Grey) don’t deal well with transparent objects… All the calculations in a deferred renderer are done in “screen space”, which means that all operations are done only on the front-most object (the one that’s visible). This has loads of advantages, like cheaper lighting and independence of geometry complexity of the scene, but has the huge drawback of not working with transparent objects (because multiple objects share the same pixel on the screen).
Another reason for having separate opaque and alpha objects is the shadowmaps. If we’d use alpha objects in the shadowmap rendering pass, that would make the alpha objects cast shadows, which would mean that something like a transparent window would prevent sunlight coming into a room (which isn’t what we usually want).
We already had an alpha-blending system, but it was a cumbersome beast that didn’t behave very nicely with the remaining system, so we upgraded this to this new one.
This one renders every opaque object in the scene (which will be the vast majority) through a deferred renderer, and then uses forward rendering to draw the alpha objects.
One of the big changes is that this forward renderer is no longer a multipass renderer… Before, for every light that affected the alpha object, we’d render the object once, adding the result of the previous pass (in effect, “adding light”). The problem with this approach is that it is slow (specially if the object is affected by many lights), and the results aren’t very good (because we’re using the same hardware (the alphablend in the GPU) for two different things at the same time: to “add light” and to blend with whatever was already behind the object. This resulted in alpha objects seem more opaque than we intended.
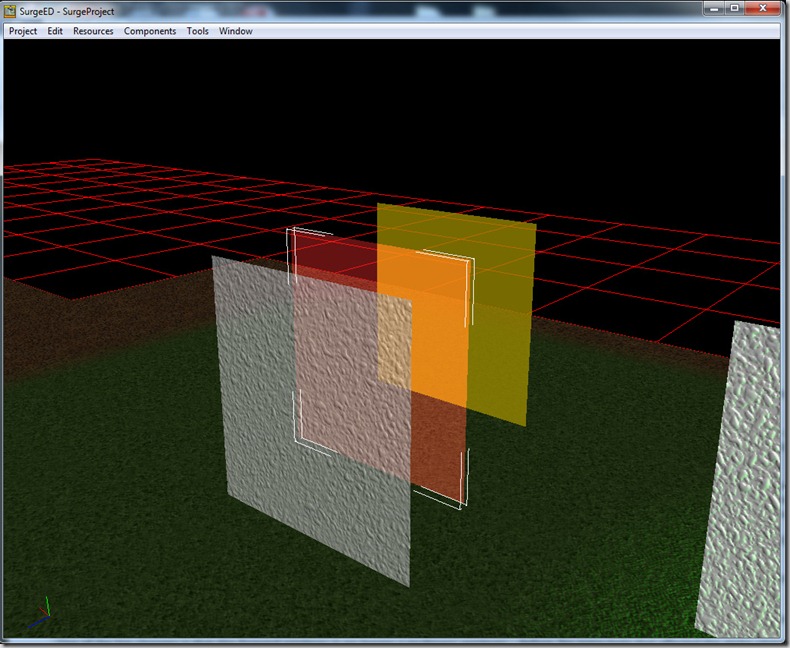
This also prevented us from using more complex blending equations… The alphablend unit in the GPU is pretty powerful and can combine the “source” (the color of the pixel we’re setting down) to the “destination” (the color already on screen) in loads of different ways… But with the multipass system, we needed that hardware to combine the actual passes together… Now, with the single pass system we can use the alphablend unit in loads of different ways… For example, instead of just applying simple transparency (known as ADD/SRC_ALPHA/INV_SRC_ALPHA blending), we can do things like additive blending (ADD/SRC_ALPHA/ONE), which is very good for special effects… In the screenshot below, I set the red plane to additive blending:
It means that the red gets added to the yellow rectangle behind him, which makes for that orange… Believe me, this is very good for special effects, when you have particles that you want to be kind of see through but that “glow” at the same time.
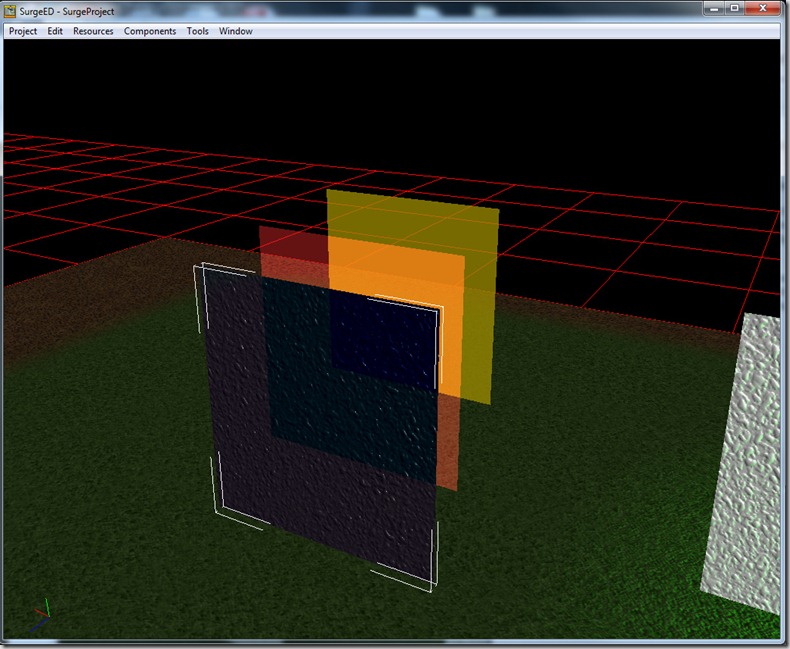
Another common effect is the subtract (SUB/SRC_ALPHA/ONE):
which is good to makes “smoke like effects”, since every application of this (in this case, only on the front quad) will darken what’s behind.
But, alas, I hear you cry: “If you can do all this in a single pass, why not do everything in a single pass”? Well, because we’re limited by shader instructions… There’s a limit of lights it’s possible to do in a single pass (in our case 3).
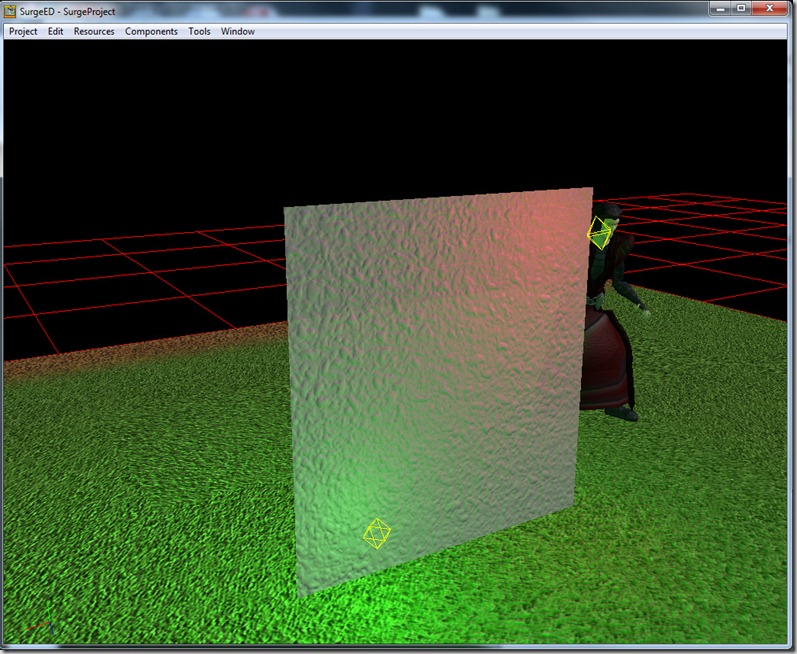
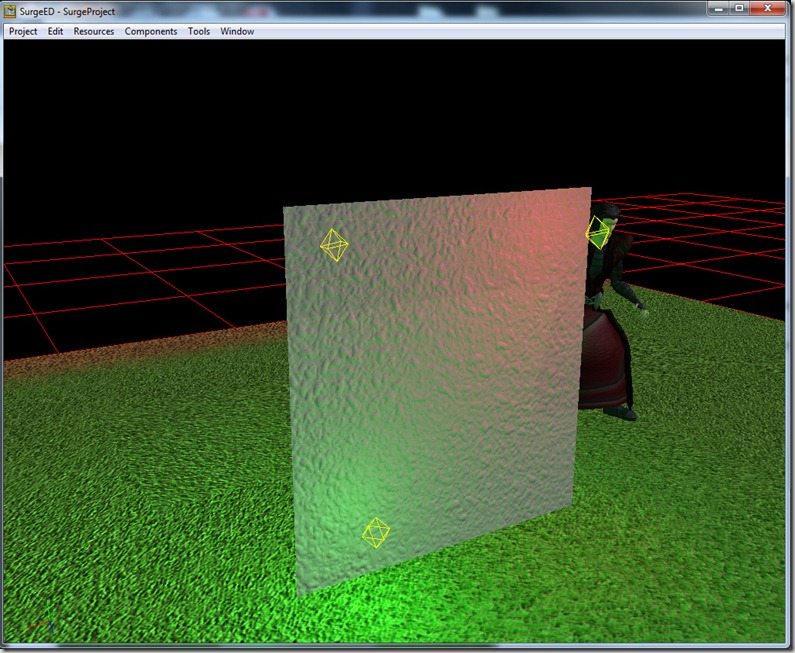
What this new system does is for every object, it choose from all the lights in the scene the lights that affect the object the most. More precisely, we choose the strongest directional light, and the two strongest non-directional lights to light the object:
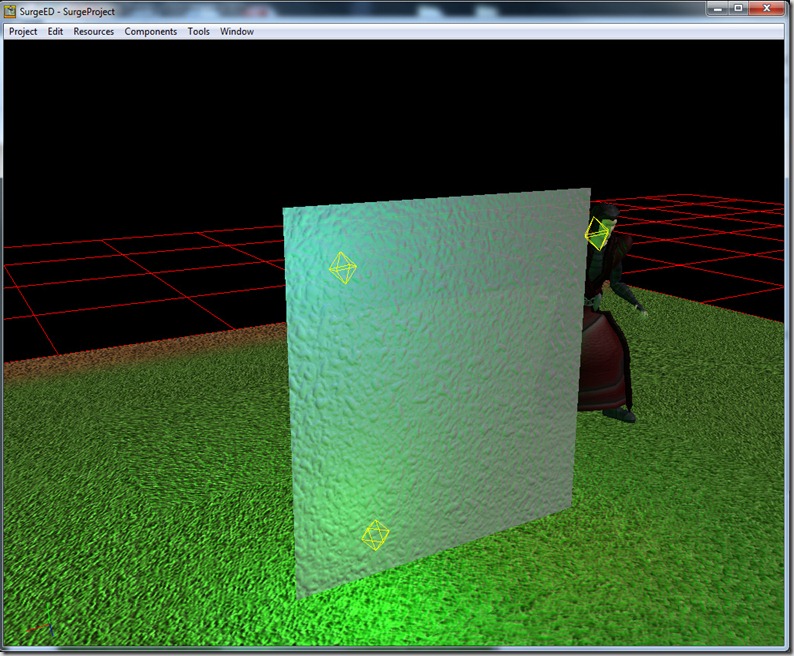
There’s three lights affecting this object: a directional light (grey, off-screen), and two point lights (one red, one green). If I add another light (a blue one) to this, it won’t show up:
Unless I make the blue one be more influential to the object than any of the others (by moving it closer, for example):
And in that case we loose the red light (since it was deemed less important)… It’s not perfect, but its usually good enough for games… this can be expanded if we have more GPU capabilities (for example, if we use pixel shaders 3.0 or 4.0).
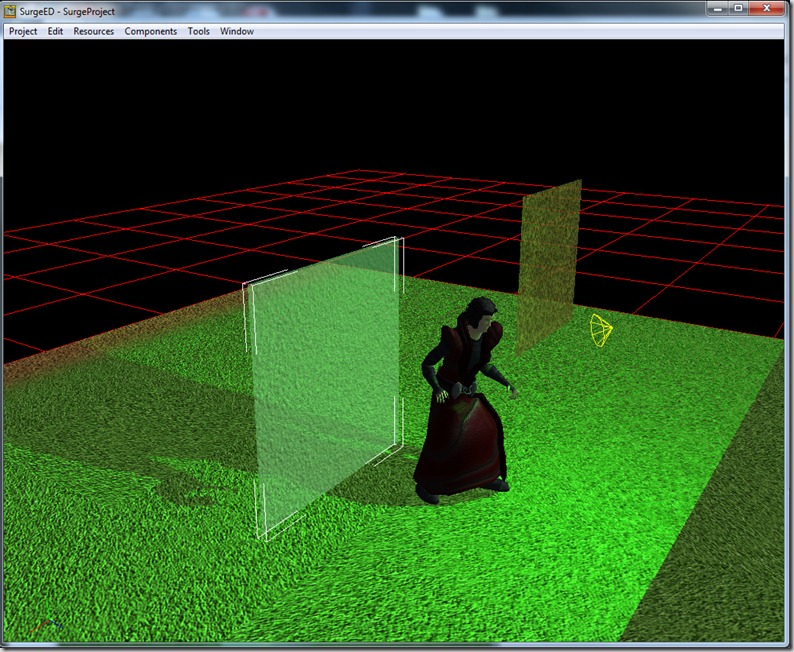
Another drawback of the new alpha system is that it doesn’t support shadows: alpha objects don’t cast shadows, neither they receive them:
I can probably change the shader so that the alpha objects receive shadows, but I’m not sure if it is worth the trouble and the performance hit… Anyway, I might add it just to try it in the future.
There’s still loads of fringe cases that don’t work very well, and I broke some parts of the shadowmapping system (the directional and spot lights) in the process, but I’ll fix it up after I’m done with the effect system…
Comment
You must be logged in to post a comment.